Showing posts with label Writing. Show all posts

Our Daily Schedule in a Moderate to Severe Needs Classroom


Since joining the instagram teacher community, I have received lots of questions about how we run things in my classroom. One of the most frequently requested topics is my daily schedule. Quite honestly, I planned on writing a blog post a few months ago on this topic, but it's actually really challenging to write about! Scheduling is tough. period. I am going to post about my schedule from this past school year (2017-2018). I plan on making major changes to my schedule next year, but that is for another blog post!

My Classroom Dynamic 

It's important for you to know how much assistance I have in my classroom before I post about our schedule. I have 7 students, 3 of which require a one on one paraprofessional for significant health needs. I have 5 paraprofessionals assigned to my classroom. Our district also hires "reduction aides" who come in over our lunch hour so that our para's can go to lunch. They are hired for 2 hour time blocks, and they basically "relieve" our aides so that they can eat. 

Where to Begin 

When considering my scheduling, the first thing I do, is "assign" paraprofessionals to a student for the year. Our district rotates paraprofessionals every year, so I always have new para's to train. When assigning them students, I take in to consideration their personalities, their strengths and their weaknesses. I want it to be a good pair. Honestly, sometimes it doesn't work out. I may realize within the first two weeks that my match wasn't a good one, and I'll change it. This happened to me twice this past school year. After I have decided whom is going to work with who, I create a chart and start plugging away. I add in the gen ed times first so that I know I'll need coverage for those specific time frames. I also gray out the boxes below to let me know that they don't start until a specific time. Our district only hires "part time" paraprofessionals, so I have to stagger their start and end times so I have coverage throughout the day.
My master schedule 

Greeting 

We meet our students at the door. I like to make sure we are the first thing they see in the morning, and we all wait in the commons together. Once we have everyone together, we head back to the classroom to begin our day. 

Morning Work/Check-in

We make sure to do the same routine every single day. Our morning work consists of the following routine: 

  • unpack backpack 
  • put lunch box in bin
  • put folder in basket 
  • name work 
  • breakfast (for those who eat it at school)
  • check-in 
  • sensory break 
I have a post on my instagram page about how I differentiate their name work. We work on those consistently, every day. Our check-in system is also on my instagram page. We use boardmaker studio and students will drag their names to here/not here. This helps us work on identifying our names out of a field of 7. Once my students have completed all of their work, they have a bit of sensory and/or free choice. I set a timer, and when the timer rings it's time for our morning meeting. 

Name Practice differentiation (see my instagram for videos!)


Boardmaker Studio Check-in 

Morning Meeting 

I have a blog post dedicated to this topic. Check it out for more details on this routine! It is definitely an essential part or our day. This gets things off and rolling, and sets the tone for learning. 

Calendar Time at Morning Meeting 


Writing  

In the schedule above, my kindergartners go out to recess during my writing block. This gives me a chance to work with my older students who are working on typing skills. We use the keyboarding without tears program. I have also dedicated a post to how I structure and differentiate my writing block. Click on the writer's workshop tab to the right of this post if you want some more information on that! 
Writing 

Reading  

While the kindergartners and third graders are out of the room, it's just me and my second grader. We do one on one reading time. She is working on Edmark, sight word recognition, and spelling during this time. My other third graders go to another intervention specialist who is teaching LLI for enrichment. We co-teach based on student abilities, so if I have students who are the level she is teaching reading, they will go to her. If she has students who are at my level, they will come to me. 

Co-Teaching Block 

I schedule an entire 30 minute block in my day for co-teaching with my related service providers. This is my absolute favorite time of our day. I plan on doing a more detailed blog post on how we do this in the future, so for now here is our co-teaching schedule: 

Monday- AAC Group: focusing on introducing new core vocabulary through play with our SLP 
Tuesday- Center Time (no therapist, just rotating centers and reinforcing newly learned skills)
Wednesday- OT Group- Fine motor activities through play 
Thursday- Language Group: Language focused activities with our SLP  
Friday- Center Time (no therapist, just rotating centers and reinforcing newly learned skills) 

Sample Center of reinforcing skills. Core word focus: Open, OT skill: Open tissue paper 

IEP rotation 

Our district has built in an "enrichment/reinforcement" block in everyone's day. We call this Q-time. Students can travel to different teachers for either enrichment or reinforcement. Since I am doing intensive interventions all day long, we use this time to work specifically on IEP goals. I have them broken into 2 groups and have a rotation schedule for them. Each day they work with a different adult on IEP goals. Their are schedules in their IEP bins on the activities I want them to do and a data collection sheet for the para. We use this time to really focus on their goals, collect data, and I love that the students get the opportunity to work with a new adult every day. 

Unique Learning System 

With my higher level students, I schedule a block to work on the content from ULS. With my lower level students, I am integrating this into their IEP goal work and rotations. I like to integrate those topics for them that way they are getting the content, but at their own level and it's meaningful to them. 

Math 

Right now in Math, my students are all over the place as to different levels. One student is working on double digit addition, one is working on one to one correspondence and my lowest level learners are working on sorting. So this time is truly difficult. We also have NO math curriculum. I shouldn't complain, because a lot of districts don't have curriculum for anything for units like mine, but after being spoiled with unique, and leveled literacy intervention, not having a math curriculum is challenging. During this time, I rotate working with students. One day I will work with my higher level, while my paras are working on math skills with my lower, and then we switch. 


1-1 rotation 

1-1 rotation is basically the same thing as IEP rotation but the activities for this one are math based. This is where we hit the math IEP goals, and really focus on everyone's individual need. 


How do you manage your scheduling? I personally feel it's one of the most challenging things about our job as special educators! I hope this helps if you are in a schedule rut! 


0

Differentiating for Non-Writers- Beginning to Mid Level


Who are these strategies for?

These strategies are for students who struggle to form letters. They may be cognitively able to produce written content but need access to assistive technology to do so. These students are working on forming sentences using capitalization, correct grammar, and punctuation. They may be beginning to form paragraphs.

Beginning Writers

Currently I do not have anyone at this level, but I will share how I would instruct this level if I did have students learning to form letters. We use the Handwriting Without Tears curriculum for writing instruction. Once students have the pre-writing strokes, we work on letter formations using the sticks from Handwriting Without Tears. I laminated the stick mats from the program and put soft velcro along the lines. We practice tracing the lines on the soft velcro for some sensory input. I add hard velcro to the sticks and then we practice putting the sticks on the lines. Then once they have mastered that, I take the velcro away and use the mats and sticks. I do not have a picture of these at this time because a co-worker is currently borrowing them. 


After learning letter formations, we start working on HWT journals. I start with the earliest level which is actually pre-k (Get Ready for School). This practices forming letters and holding a crayon/pencil in a pincer grasp.

Mid-Level Non-Writers

My mid level non-writers are students who know all of their letters and sounds, are able to either orally or receptively identify the letters and can find them on their AAC devices or a computer. These students struggle with fine motor but are able to produce written text using assistive devices. I should add that these students are in 2nd/3rd grade. This is currently where most of my writers are. 

Writer's Workshop for Non-Writers 

I do Writer's Workshop during my center rotations weekly. It is time for me to sit and specifically work on writing skills. This is our weak area, and I know this. I decided to make it my goal to tackle this head on this year. In order to do that I needed to think outside the box and collaborate, collaborate, collaborate! My Occupational Therapist and I have worked very hard to make sure have motivating and engaging activities. Each student has a writing folder that I keep their work in. I meet with my students twice a week to sit down and focus on writing skills. 

Our first step in the process of creating our writing piece is to choose a picture to write about. I use real-life language cards similar to these ones below: 


Actions Language Cards

Once the students have chosen their picture we complete a graphic organizer answering WH questions about the picture. I created a strip of these for visual reference and every time we discuss the WH questions I make sure that I am pointing to that visual in reference. We also use this strip when reading books. I feel this is important to make real world connections and generalize the topics. This usually takes us the entire time we meet to complete. 


The next time we meet, we use the graphic organizer to form our sentence. Even though writing is extremely difficult for this group, I feel it's important to continue to show them that written words have meaning. I will write their sentence out on a large sentence strip to model what their sentence should look like. We practice reading the sentence. Then, I will highlight a sentence strip for them and have them write it. After we have written the sentence we use our assistive tech to type it. 


Assistive Technology 

We use a variety of different tools to complete written work. These students will probably use these tools as a more practical way of producing written communication in the real world. Here are some of the things that we are working on at this level:

Keyboarding Without Tears: These students are learning the ins and outs of a keyboard and getting familiarized with it. This program is amazing! My students actually BEG me to practice typing because they love it so much! This program using some of the basics from Handwriting Without Tears and correlates it onto the technology. I have a large keyboard mat that we use to practice finding the letters and placing them on the mat. I have seen significant improvement in my student's and their typing skills! The program is online based and only costs $10 per student. It tracks their data and gives you a ton of lesson plans that go with it. I highly recommend this program! Link below. 


Alpha Smart: We rarely use this anymore because we have upgraded to laptops in my classroom. So my students are typically producing their written text on the laptop. We used this when practicing typing names and when we quickly wanted to type a sight word. We have the keys color coded and in lowercase letters because one of my students struggled to match upper-lowercase letters. This gave her the opportunity to produce written text without the struggle of matching upper-lowercase letters.

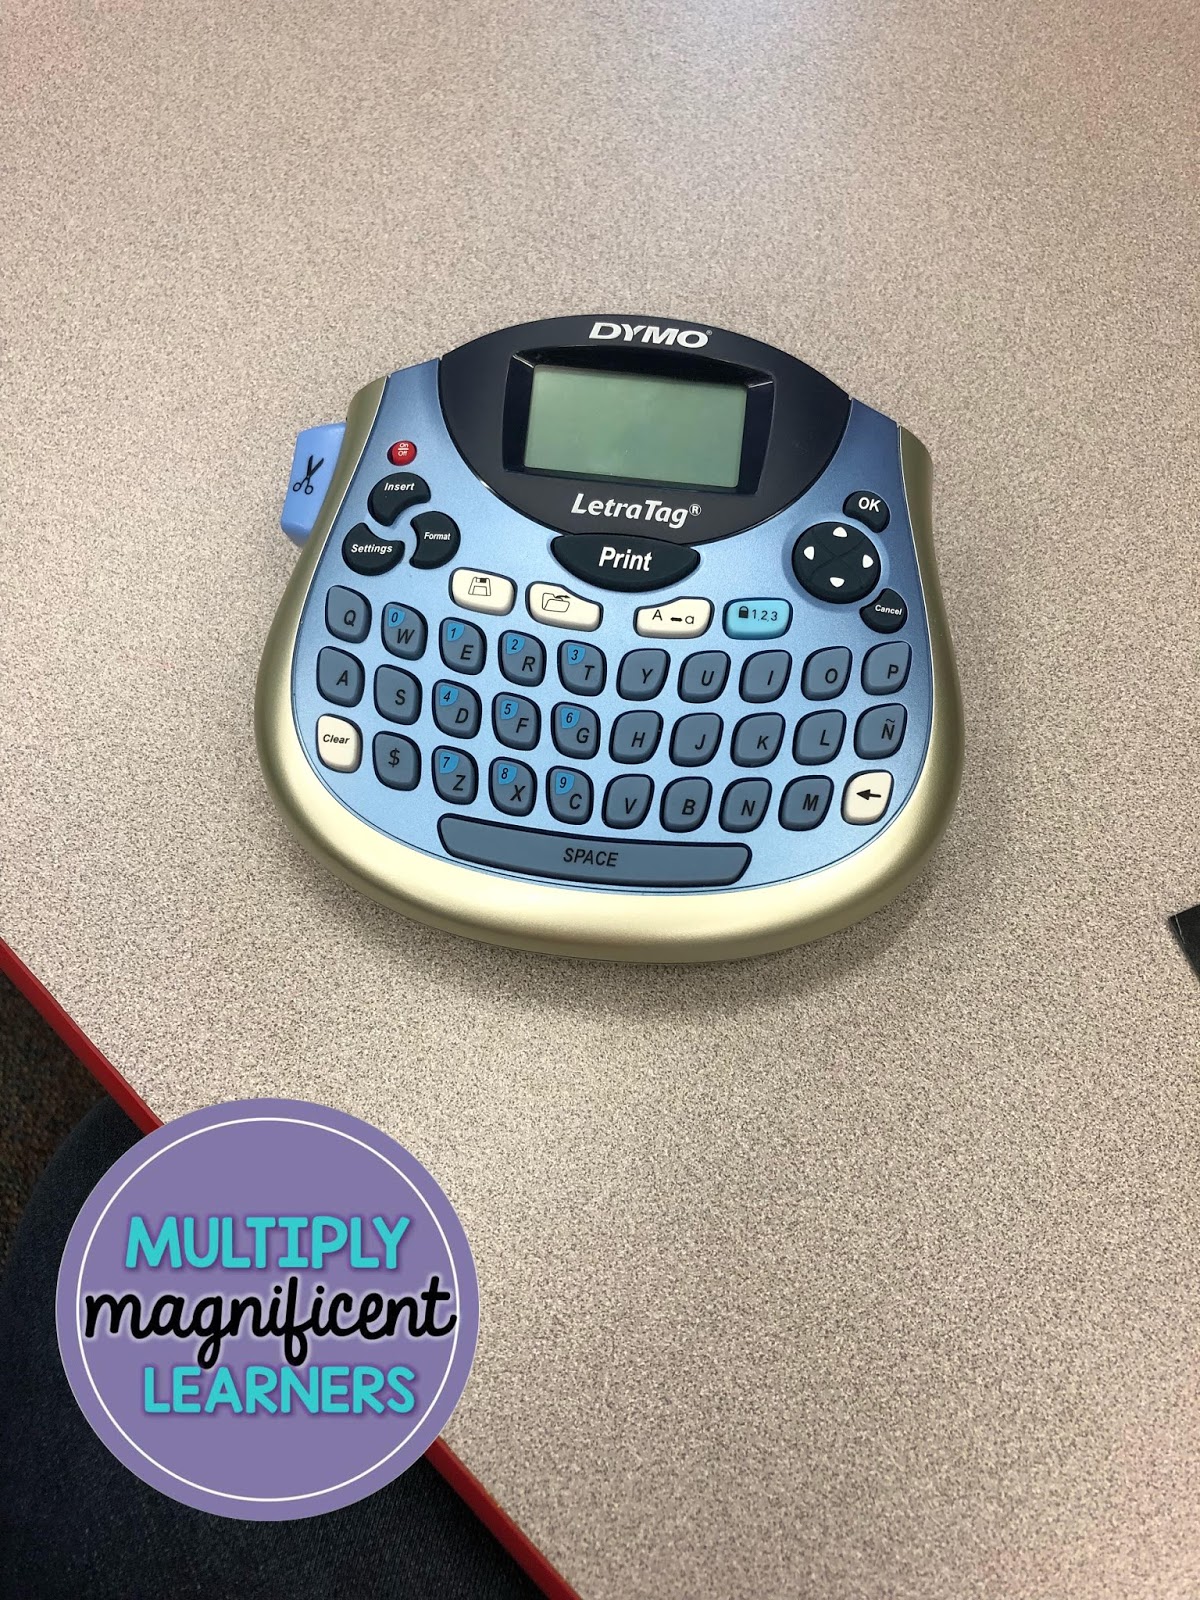
Label maker: This was a game changer for us. We use the label maker for daily name practice, typing our names for papers, and reducing the stress that written work puts on my students. I have students who literally have meltdowns when they are expected to write. The label maker eliminates that stress and allows the students to answer questions to papers, math problems, etc. and print with 1 button! They love it and are motivated by it. It's cheap and easy!

AAC Devices: Students will answer WH questions using their devices to fill in their graphic organizers. We then work together to produce that into a sentence on their device. See the next paragraph for more information on this, this is a topic I am passionate about!

Using AAC Devices to Produce Written Text

This is a topic I am so passionate about. AAC devices or "talkers" in my classroom, are of utmost importance to us. I model using the talkers on how to create a sentence, and we work hard get the students to create full sentences. My students are currently at this level. They have had their devices since Kindergarten, and are way passed core vocabulary. Forming sentences is our next level. 

I often have been asked, "are they truly reading?" when they use their talkers to read to me. I will write a blog post about this later, but I get the same question when they produce written text on their talker "are they truly writing?" Yes. Yes, they are. The way I see it is, as a typical child thinks in their head what they want to write and their brain transmits that information and they produce written text on paper, they are writing. For a student using an AAC device it is EXACTLY the same, sans writing. Their brain is coming up with the words they want, they are finding those words on their devices, and they are producing a written sentence. This is real life. This is how they will communicate their thoughts out in the real world, we are just taking away the paper. This is so important! It's the same way with reading, and I hope to write a blog post soon on how I taught my students who are nonverbal to read. 


This is what we are currently working on in our classroom! I hope some of these ideas help you with your non-writers! If you have any great ideas you have and use in your classroom, please share! I love learning new ways to teach! 

0

Differentiating Writing for Non-Writers- Lowest Level

It Takes a Village

Before I even get started with this post, I have to say that I have an amazing team of therapists. We have an awesome occupational therapist that will do whatever we need at the drop of a hat. It takes a village, it truly does, and all of the activities I am posting about have been a collaborative effort between my team and I, so thank you Miss Jessica!

Who are these particular activities for?

I broke this into different levels because I feel that there is SO much information to share! So let me begin by breaking down this level of "writers" in my moderate-severe classroom. This particular group is my younger group, they are also my most severe group of students. We are working on things like: crossing mid-line, making selections, putting things "in", and horizontal lines. We had to break down our pre-writing because we weren't making progress. We have been and will continue to work on making horizontal lines until our students are able to make the lines themselves.


Writer's Workshop for Non-Writers

I do Writer's Workshop during my center rotations weekly. It is time for me to sit and specifically work on writing skills. This is our weak area, and I know this. I decided to make it my goal to tackle this head on this year. In order to do that I needed to think outside the box and collaborate, collaborate, collaborate! My Occupational Therapist and I have worked very hard to make sure have motivating and engaging activities. Each student has a writing folder that I keep their work in. In the higher levels of writing, it takes us a week to complete one step. I will get into that in my next blog post. 

Hands-On Activities 

Before I begin any type of writing with this lowest level, I do a hands-on, texturized activity. We tried to make sure that the activities for making horizontal lines were motivating and engaging for my kids. Here is a picture of some of the items we utilize for motivation: 

My Occupational Therapist made these activities for us. She hot glued large pom-poms on a large popsicle stick. She also used fabric paint on a large popsicle stick. The next is a large dowel rod, with a ball that we stick on the dowel rod. Students need to move the ball left to right to get it off the stick. They love to watch the ball fall off the rod! The last she used a large wrapping paper tube and wrapped the center in tissue paper. The students hold each end of the tube while we hang the ball on a string. They have to hit the ball with the orange part of the tube. This helps are students who struggle with visual perception and it's also really fun!


Horizontal Lines

Once we have completed about 2-3 minutes of making horizontal lines on our texturized materials, I have my students make horizontal lines on paper. I use a large sentence strip and we are using markers right now because they are larger and easier for the students to grasp, and also if it gets on my table, it's easy to wipe off. I help the student place their hand in writing position and then they make a horizontal line following the sentence strip. 


Journaling 

In Ohio, we have extended content standards for students with disabilities who are on a modified curriculum. One of our standards is to make a picture selection to complete a sentence. I created these journals so that my students can participate in journaling at their level. Our theme for the month is weather, so I made weather pictures in their journals and they have to complete the sentence. I give them two options. Once they have made their selection, we read their sentence. 


You can get these journals in thematic packs that correlate with the Unique Learning System here: Non-Writer Journals

Assistive Technology 

We use a few iPad apps to help with our pre-writing skills. Here is a list of the apps we use: 

Dexteria Jr- This app helps with visual tracking, pre-writing strokes, and technology skills such as pinching the screen.

Writing Wizard- This app helps with pre-writing strokes and is HIGHLY engaging. My students love this app. I love it, because the app models how to make the strokes before the students can try to make them, then after they complete the strokes, it gives them some "play time" with the various pictures they use to to form the lines. They also have cute themed pictures likes Santa's, hearts, and shamrocks for the different seasons. Also, big benefit for me- IT TRACKS DATA! Just email it to yourself, and you can print your students pre-writing strokes. Love it!

Ready to Print- This app also works on pre-writing strokes but it is not as engaging as the Writing Wizard, however it is more practical. It shows a highlighted path where the student should be writing, and when they go out of the path, it will show them by making their stroke red. This app comes with companion worksheets that can be laminated for extra practice. Just go to their website (http://apps.essare.net/app/ready-to-print/) and download. This app also tracks data! Just email it to yourself and you can print your students pre-writing strokes. 

These apps are paid apps, but they are so worth it! I have posted some videos over on my instagram page of this particular level of writing. Make sure you check it out! www.instagram.com/multiplymagnificentlearners

Name Stamps

We have students who are utilizing name stamps to write their name on their classwork. We are currently working on "pushing" the stamp down. Our particular name stamps do not give a lot of feedback, so it's hard for the student to tell if they've pushed hard enough to get the stamp on. My OT added pop buttons to the top so when they push on the stamp, they are getting some type of feedback. This seems to have been pretty effective! I took a piece of brightly colored paper and cut a window in it. We laminated it so that we could easily wipe it off. We place the piece of paper over top of construction paper, lined paper, etc. and have students practice targeting that window. I will add a picture of this later, I forgot to take one of this specific tool, but you can see it in the very first photo on this blog and in a video on my instagram account. 

Texturized Writing Utensils

My occupational therapist and I were struggling to get them to hold onto markers, crayons, pencils, a stylus, anything really. They were just NOT having it. She came up with the genius idea to add different textures to the utensils. She chose textures specific to what my students like, but you can add any texture really. This trick has been so useful for us. The students will hold the utensils long enough to make horizontal lines. I will also add a picture of this specific tip/trick when I get the chance, but for now you can hop over to my instagram to see it in a video. 

Hope this was helpful! Drop me a comment if you want a closer look into anything or have any more ideas for me to add to our routine! 


1

Happy Thanksgiving!

I hope everyone has a relaxing and safe Thanksgiving break! Enjoy your time at home with your family and celebrate all the wonderful things you are thankful for!

We have been very busy this short week, those three days flew by quickly! We have been working on so many different Thanksgiving-themed activities together in our regular education classrooms and our own. During calendar time yesterday, we discussed that we wouldn't be coming to school for a few days and taking a break with our families. It was hard to get this point across, they kept saying, "no, Mrs. Hughes, we have school tomorrow!" They just love school soooo much :)

Yesterday all of our fall-themed art work got sent home. Our turkey's that had patterned feathers, our large candy corn cutouts that the students sorted shapes into three categories (all color coded) to make a candy corn and of course tons of Thanksgiving work.

This week we worked on the story by Alison Jackson, "I Know an Old Lady Who Swallowed a Pie". I have made a large cut out of an "Old Lady" and she is life size! We read the story, re-told the story using velcro peices and putting them in our life-size Old Ladies belly. We had a blast. Then we used peices of the food from the story to work on beginning sounds, and then moved on to making our own book to take home to read to our families. I hope you enjoyed those books! I will upload photos of our "Old Lady" in another blog post.

Yesterday we talked a lot about our favorite Thanksgiving foods. Students colored a picture of their favorite food, cut it out and placed it on our class chart.


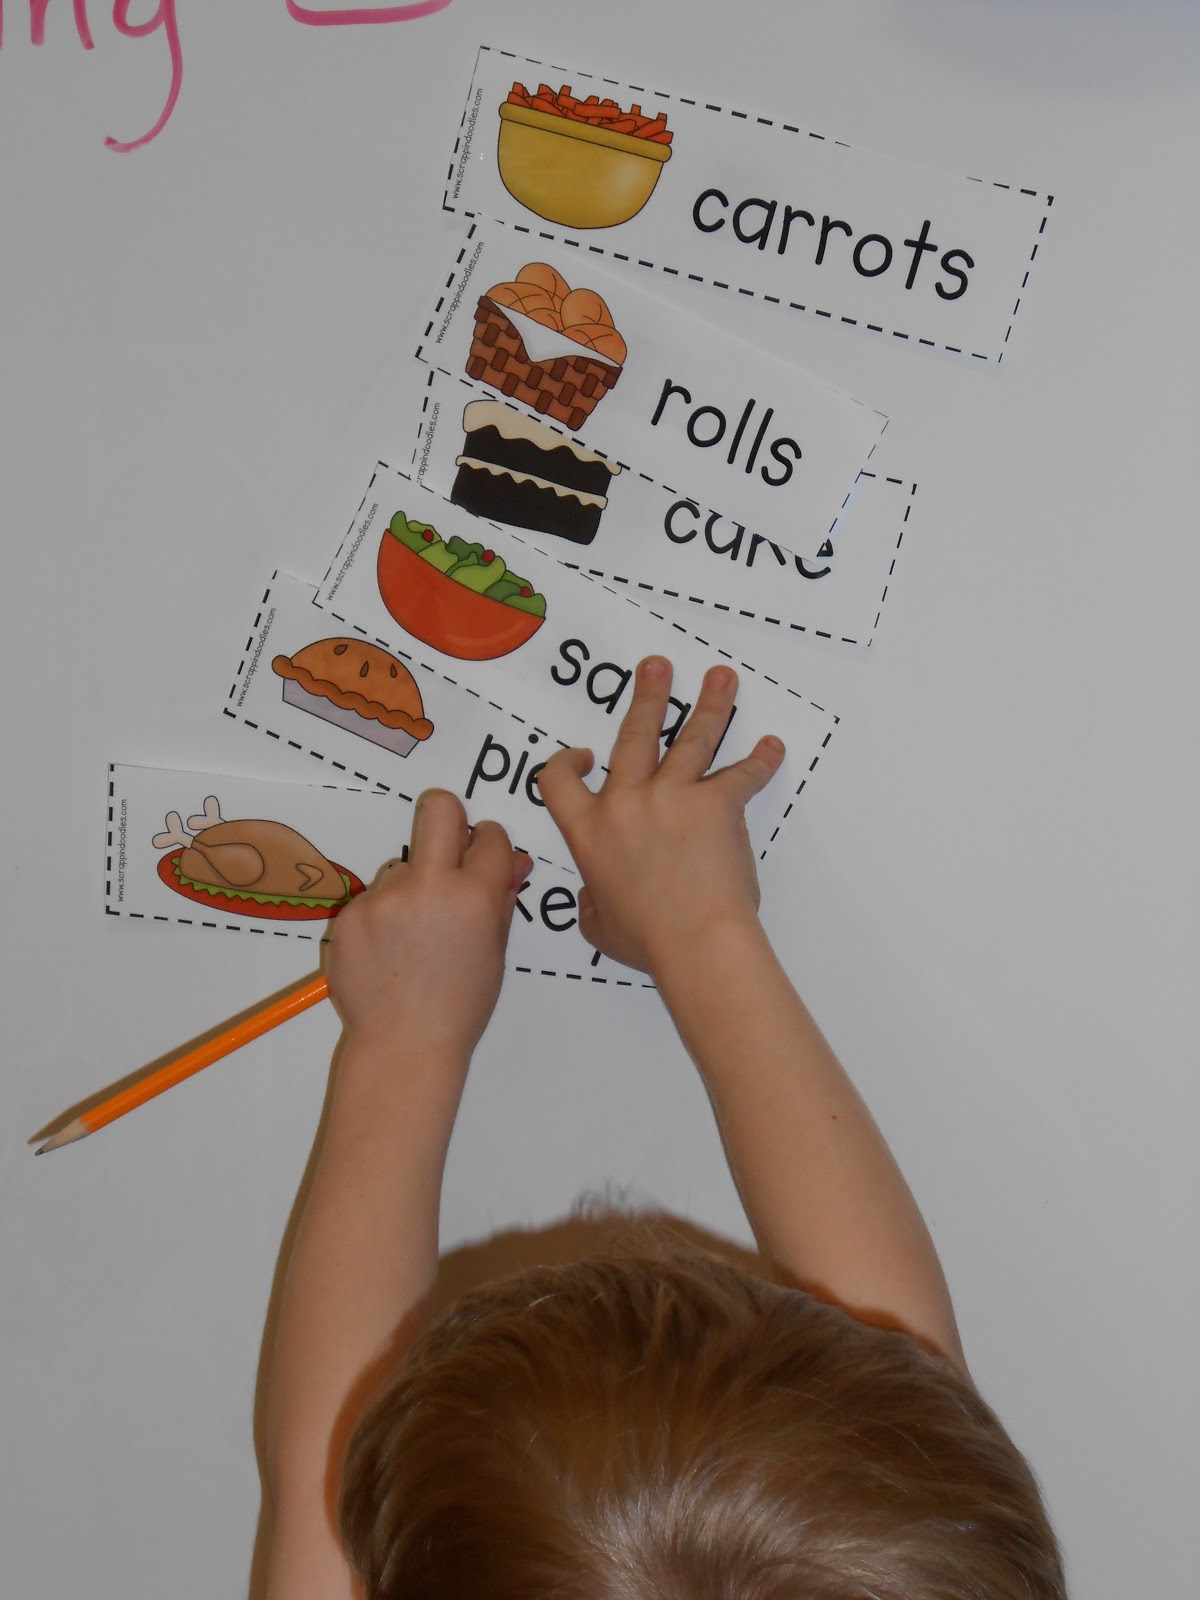
After we charted our favorite foods, we counted, tallied, and wrote the numbers for our favorite food (Turkey won!). Then we graphed it on graph paper (to practice our graphing skills). We discussed most and least, and then got started on writing a Thanksgiving book about all the foods we like to eat! The students used the word cards to read the food, and then could take it off the white board and bring to their seat to help them write the word in their book. They then drew a picture of that food.


All of these activities I got from candokinders.blogspot.com as one of her freebies!
 

Have a Happy Thanksgiving!

0